How to Turn Your Gallery Photos Into Online Content
December 15, 2020
So you found a photographer you vibed with.
Booked a shoot.
Picked out your outfit.
Did hair and make up.
10/10 looked stunning.
Had a killer photoshoot with your photographer.
You got your gallery back stuffed with beautiful photos.
But now what?
How do you turn your photos from your photoshoot into usable content online? I got you, sis.
First things first. Let’s talk profile pictures.
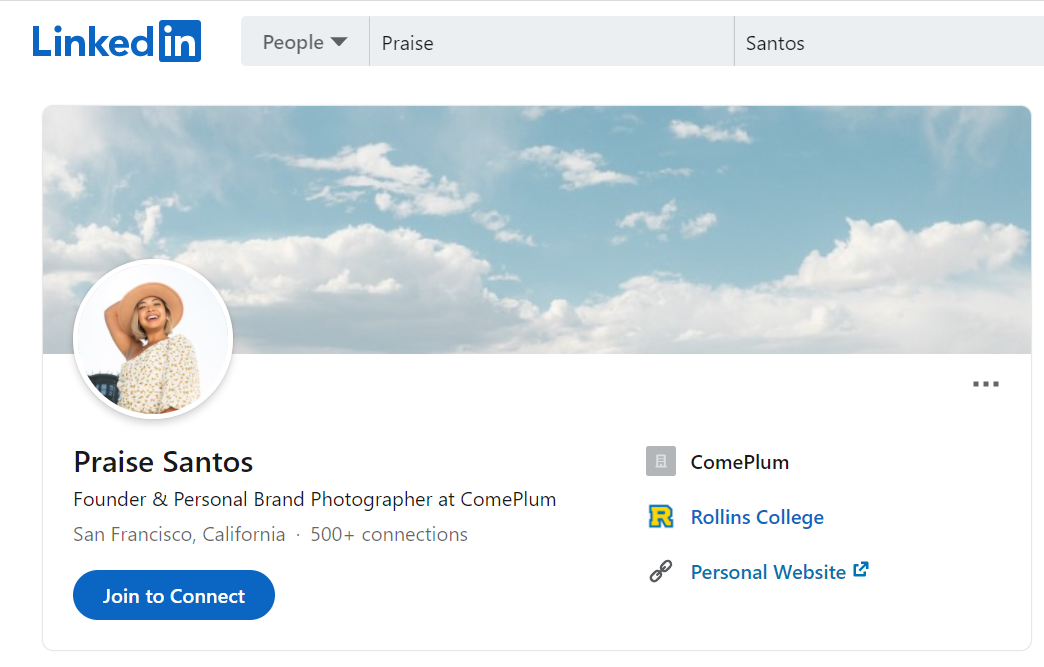
For most cases with LinkedIn, Facebook and Instagram, you want to choose a high quality headshot for your profile picture. As Lexie Smith, founder of THEPRBAR inc. has taught us in this previous blog post (How to DIY Your PR), the importance of choosing a high quality founders headshot. You want both vertical and horizontal options of these shots.
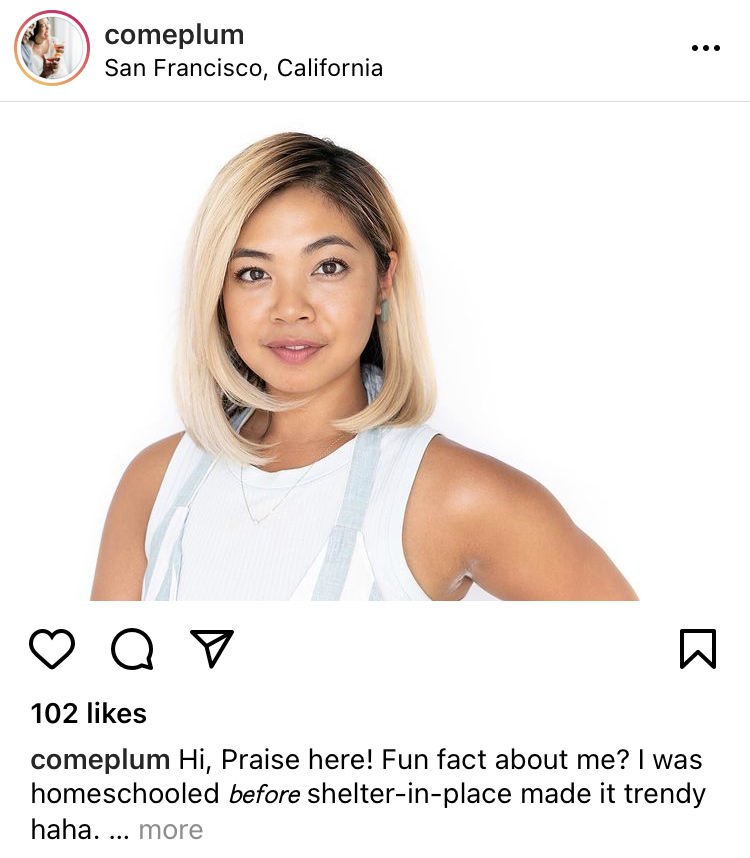
It’s also important to have on hand a headshot with no background to it in your arsenal. These tend to come across as more professional and can be used for images like a LinkedIn profile picture or profile photo in your business inbox. This type of photo is also important when it comes to creating a graphic for your podcast so that you can have the subject (you) and add the copy of the name of your show without the graphic looking too busy.
If that isn’t something that your photographer has provided within your shoot, don’t panic! We are here to equip you with some tools to fix that. The first thing you can do is find your favorite photo, and upload it into your Canva Pro account. Once you’ve successfully uploaded that image, you can click on the Effects button up in the top corner of your toolbar and select “Background Remover.” Would you rather have someone else do it? You can outsource that image to Fix the photo for a small fee and they can take out the background for you with a pretty quick turn-around time.
Where will I use my headshot online?
Like we mentioned before, you can use your headshot in the common places online, like your LinkedIn profile or for your Facebook profile photo. However, you may also need photos for your dating profile, like Hinge (P.S. if it works out, keep in mind we also shoot micro-weddings here at ComePlum’s #heyo). Let your Lyft driver know who they’re picking up by updating your photo in the app too. Also, now that almost everyone is virtual these days, don’t forget to upload the photo in Slack too.
Pro-tip: If you sell or market to your audience on Instagram or Facebook, don’t hesitate to add one of your photos of yourself as a post from time to time. People want to buy from people, not a brand. This will not only help your engagement, but it will help your audience feel a connection to you.
What about my cover photo?
You may be wondering what to put as your cover photo and how to communicate your brand. We recommend using a photo of your environmental setting or still life shot. If you already know what your brand vibe is that you are wanting to communicate to your audience, then use that! This could be your work station. If you’re a cook, then a kitchen counter. Are you a writer? Then consider a photo of a desk and computer. If you’re a health instructor, then you could use a photo of gym equipment.
Don’t have any photos like that in your gallery? Don’t worry! You can take advantage of some great royalty-free images from websites like Unsplash or Social Squares that have a variety of beautiful images and stock photos for you to use.
Another great option would be to create a quote that conveys your brand. These types of graphics can be easily created with the WordSwag app on your phone or on Canva which has a wide variety of graphics to choose from and customize. This option allows you to communicate something directly with your audience while keeping the graphic on brand.
Photos to use throughout your E-book.
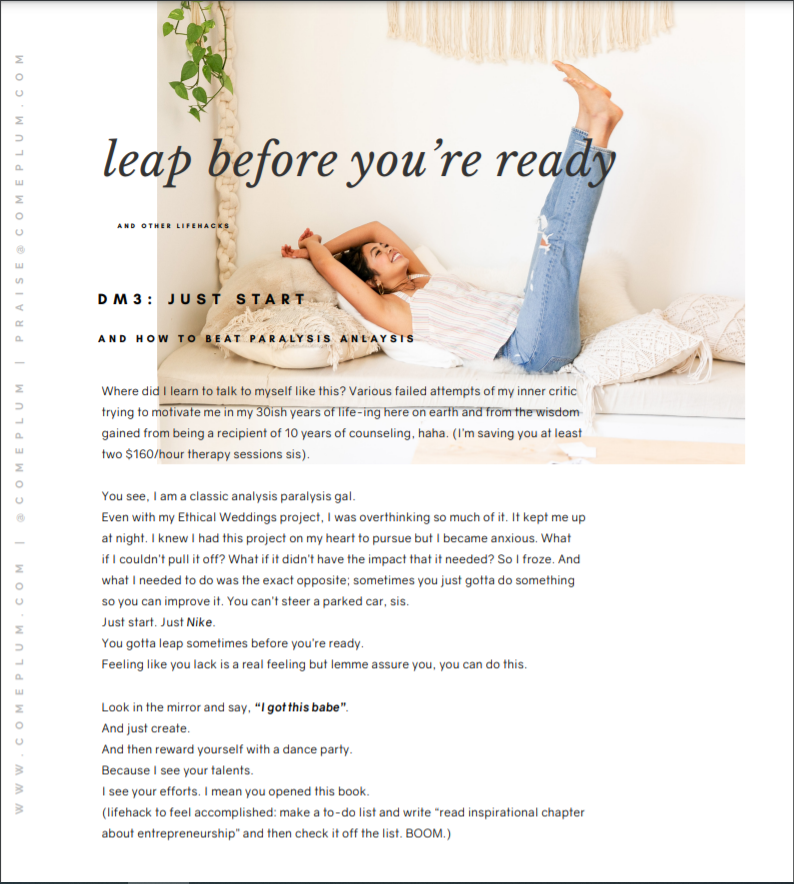
As you probably know by now, ComePlum is all about equipping others and sharing knowledge. E-books are a fantastic way to do this. You can easily share your expertise via a PDF format and anyone can download what you have to offer with the click of a button. But you want to make sure that it’s aesthetically pleasing. To ensure this, you can use photos of you from your gallery as covers for the chapters in your E-book or as the actual cover. Don’t forget to use a headshot for your bio photo in the back when you are sharing with your audience more about yourself!
Photos to use on your website.
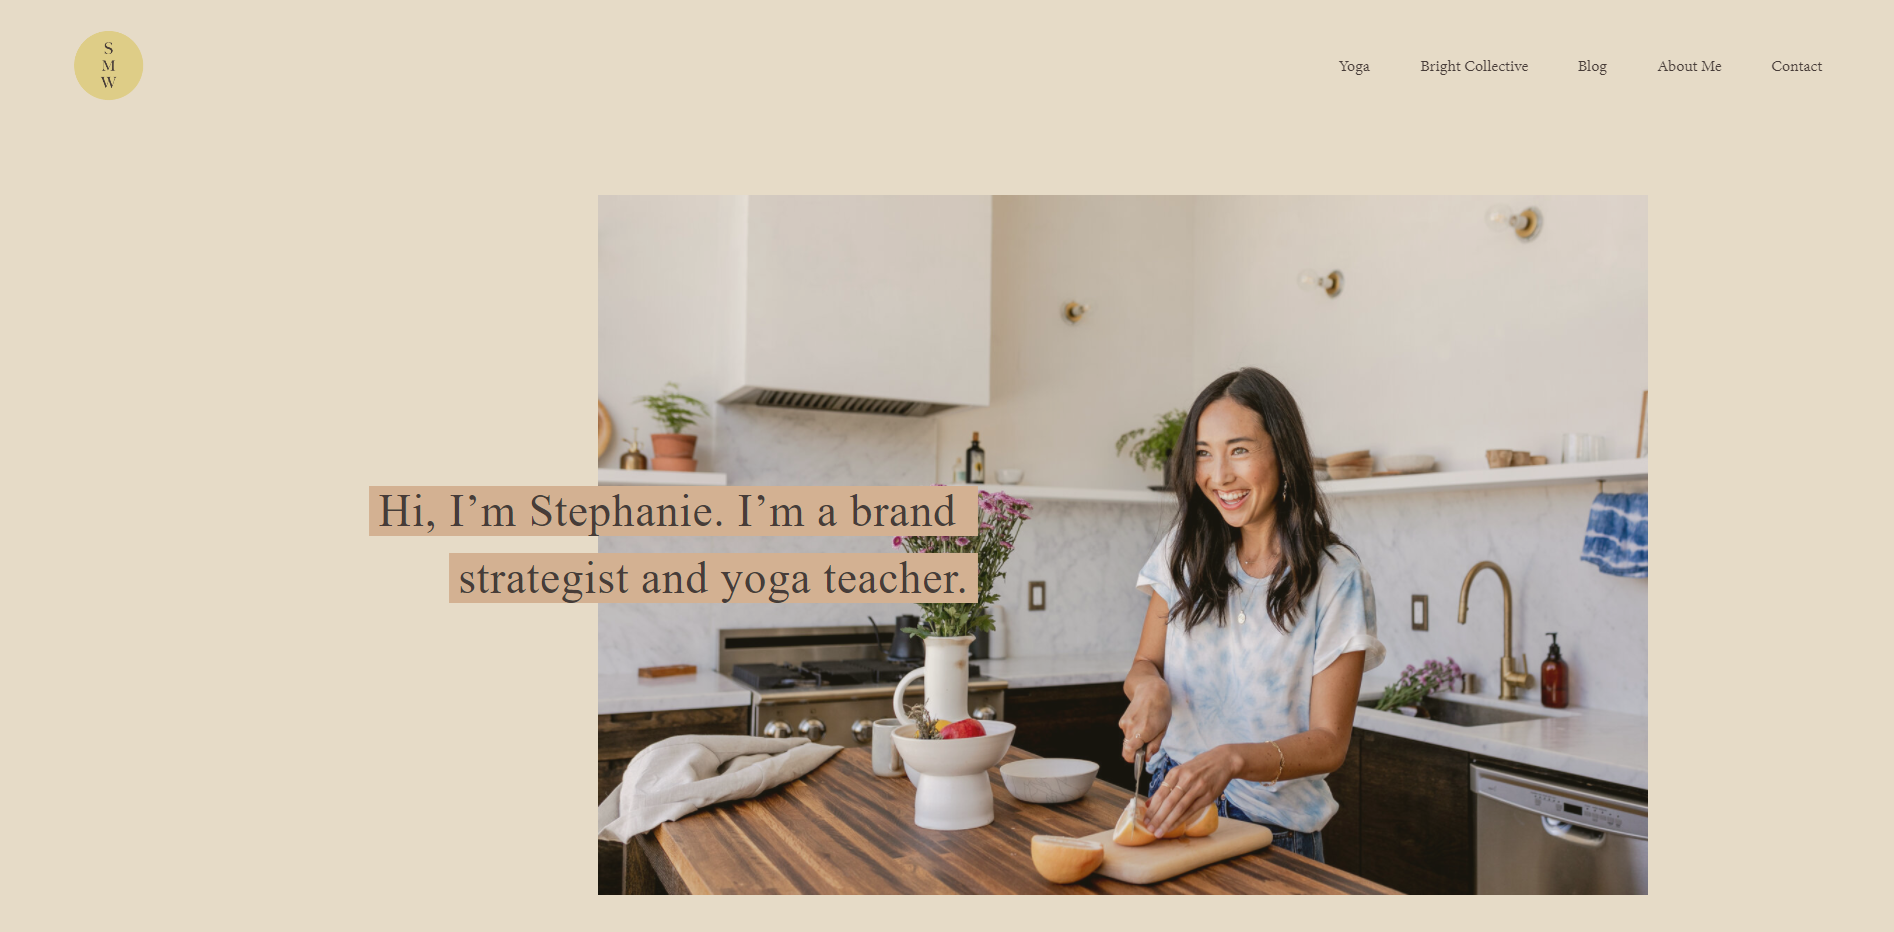
When your audience visits your website, you want them to see a “hero image” right away that communicates the vibe of your brand. A good rule of thumb is to be fascinated, not fascinating. While it’s important that your audience knows who you are and that they feel that they can relate to you, it’s important to keep them the hero. Select an image to be seen right away where your audience can picture themselves benefitting from your product.
Attach your face to your name. You’ll want to use a headshot in your “About me” section so that your audience better connects to you as they read through your bio.
Keep it on point throughout your website. Be sure that each photo portrays your brand. If you have products, keep them approachable. If you’re a coach, use a photo of you working with another person. Stay consistent and make sure that your brand is portrayed no matter where they are on your website.
Plan ahead before your shoot.
It’s so important that you find a photographer who understands your brand. Make sure that your photographer understands not only your “why” behind your brand, but also the aesthetic and what the goal of your photoshoot is for. This will ensure that you are getting great photos that are on brand that you will be able to use as content all across the board (LinkedIn, your podcast graphic, your cover photo, website, etc.). Having a consultation call with your photographer beforehand will be very helpful in ensuring that you are able to get what you need.
Hungry for more content? We want you to be well fed through this blog.
Here at ComePlum, we dedicated to the go-getter women and it’s our desire to bring you great resources that are going to help you thrive, sis. For more information and practical ways to help you reach your goals, you can learn more here.


